In this chapter, we use the Application Model Example, discussed in the previous chapter, in M4 Back Office.
Setting Username
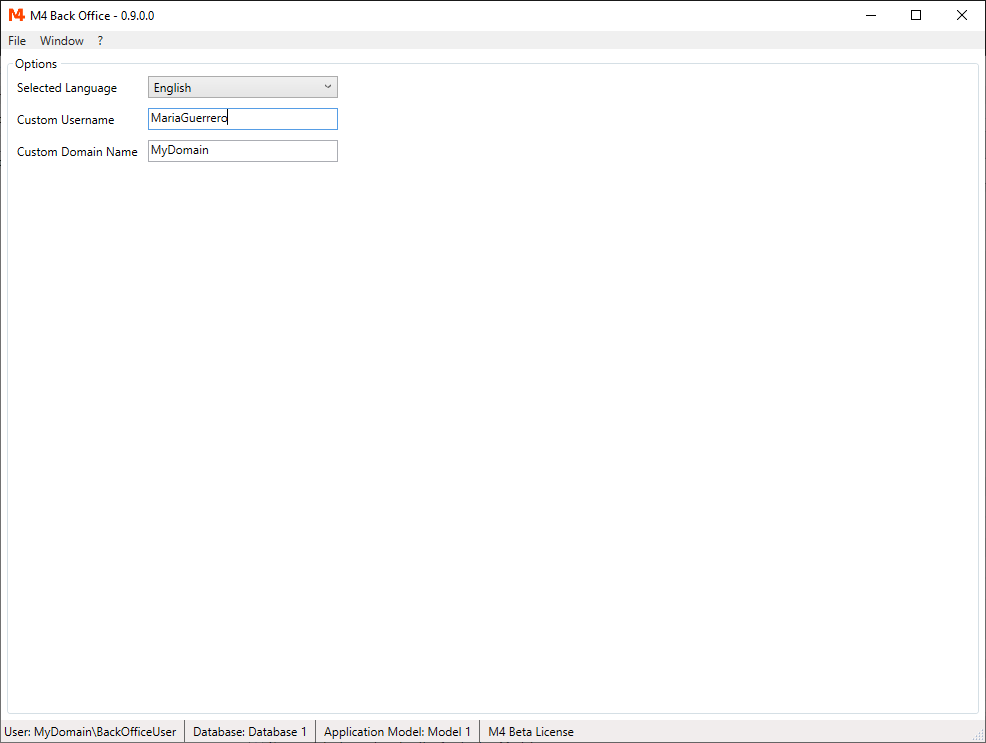
If your username does not match any of the users defined in the Access Model Example or you want to try the example as a different user,
please select "File/Options" to change the user login to a custom value.
NOTE: This option is only available if CanEditDomainName and/or CanEditUserName in AppSettings.xml are set to "true".
To start we want to add branches. To do this, we need the "Manager" role. In the previous chapter we assigned the manager role to the username "MariaGuerrero".
Restart M4 Back Office to apply this change.
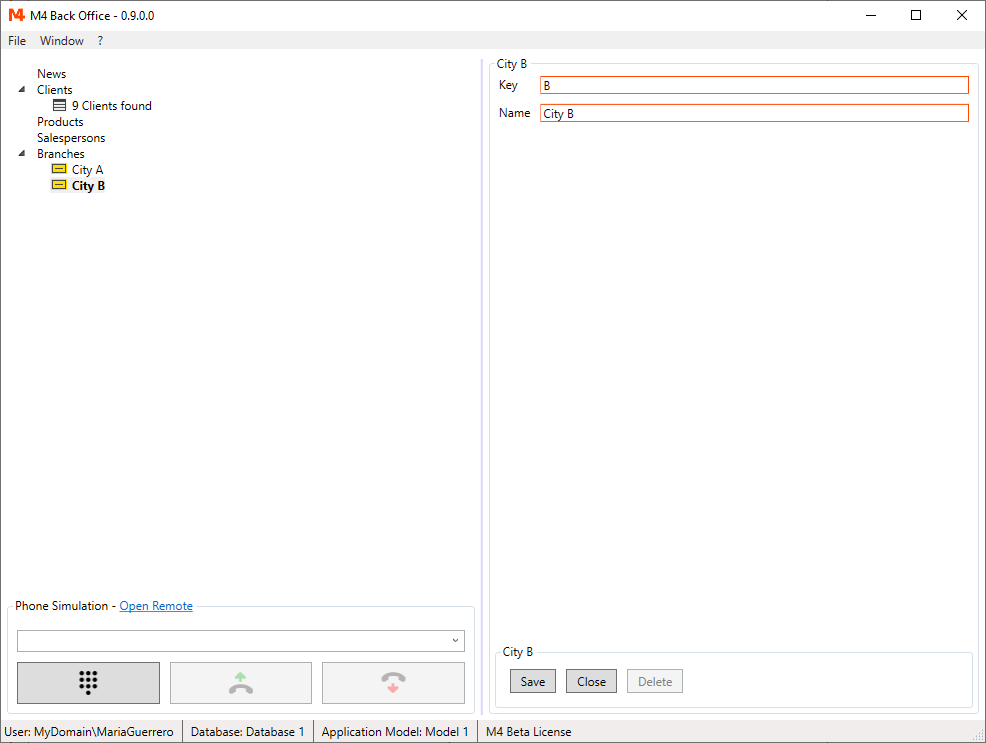
Adding Branches
First we go to the "Branches" node to add two branches with the keys "A" and "B".
Adding Products And Salespersons
For sales, a product and a salesperson needs to be specified.
The values for these fields are selected from a selection list.
So before you start to add sales, you have to add some values to "Products" and "Salespersons".
The product table allows you to add image files for each product.
In this example we used fruits.
Choose "Load" to select a file.
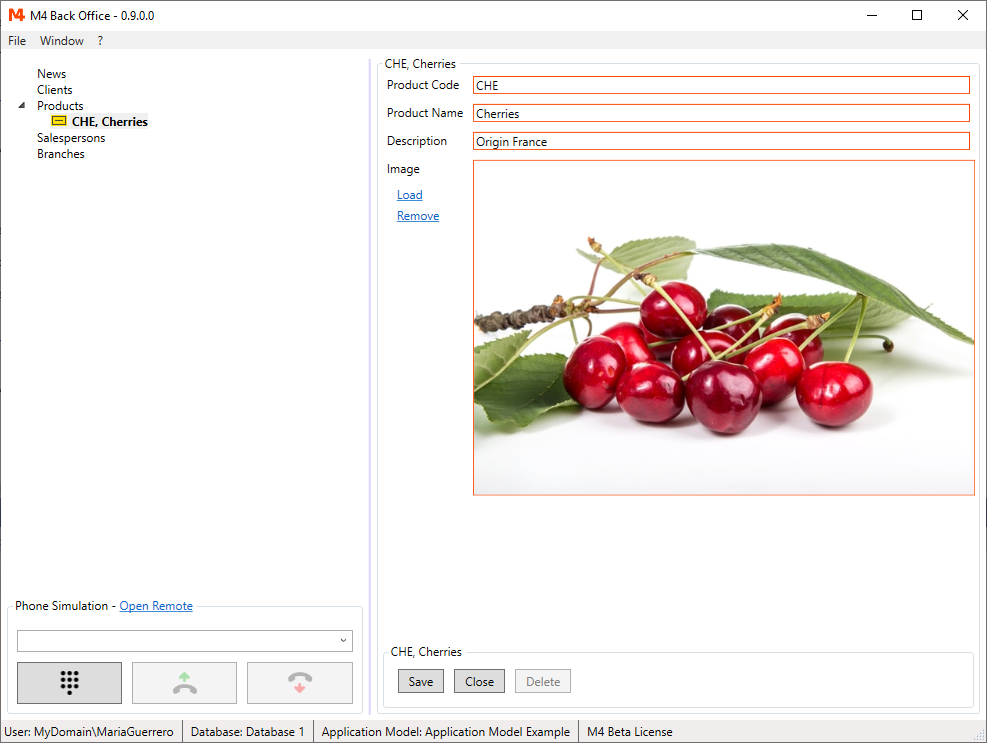
NOTE: Only the file path is saved in the database. You must make sure, that the image is available on the selected path.
Alternatively you can specify an ImageRepository in DataProperties of the DataField node.
If an ImageRepository is defined, each selected image will be copied to this repository. Again this repository needs to be accessible for the M4 Back Office client.
If you try to add salesperson as a manager, you will notice, that there is no "Add New Salesperson" link, because only "HR Manager" can add salespersons. So go again to "File/Options" and make yourself an user with "HR Manager" role assigned.
Restart M4 Back Office to apply these changes.
Add some salespersons.
Now make yourself an user with "Salesperson A" or "Salesperson B" role assigned.
Restart M4 Back Office to apply these changes.
Now you are ready to add clients and sales.
Adding Clients And Sales
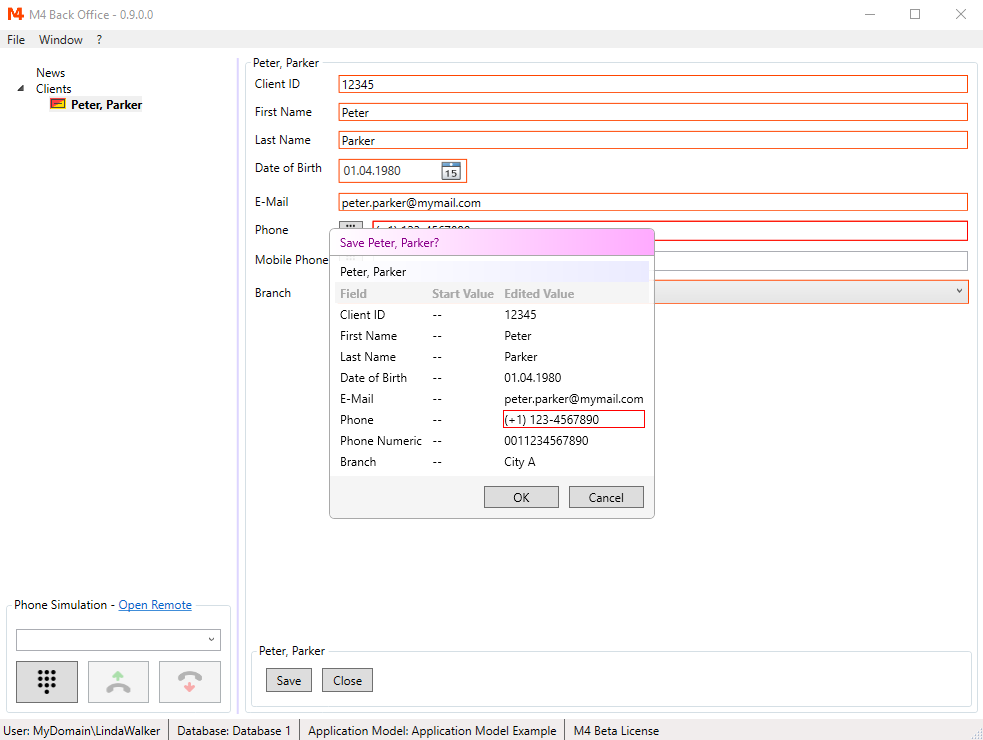
As salesperson you only see the clients node. Select "Add New Client" and fill in some values.
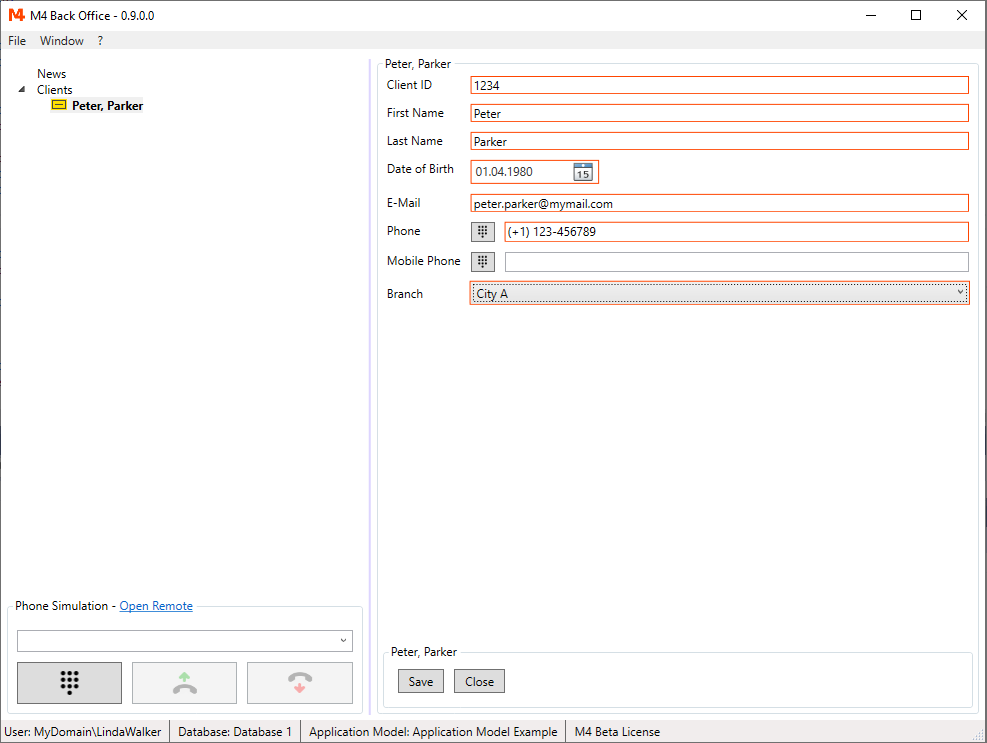
Select "Close". A dialog with all changed fields is shown. Click on "Yes".
Search for clients: You can add first or last name or leave the search parameters empty.
Click on "Open". If various records are found, a list is displayed. Double click an a record.
If only one record is found, it is opened directly.
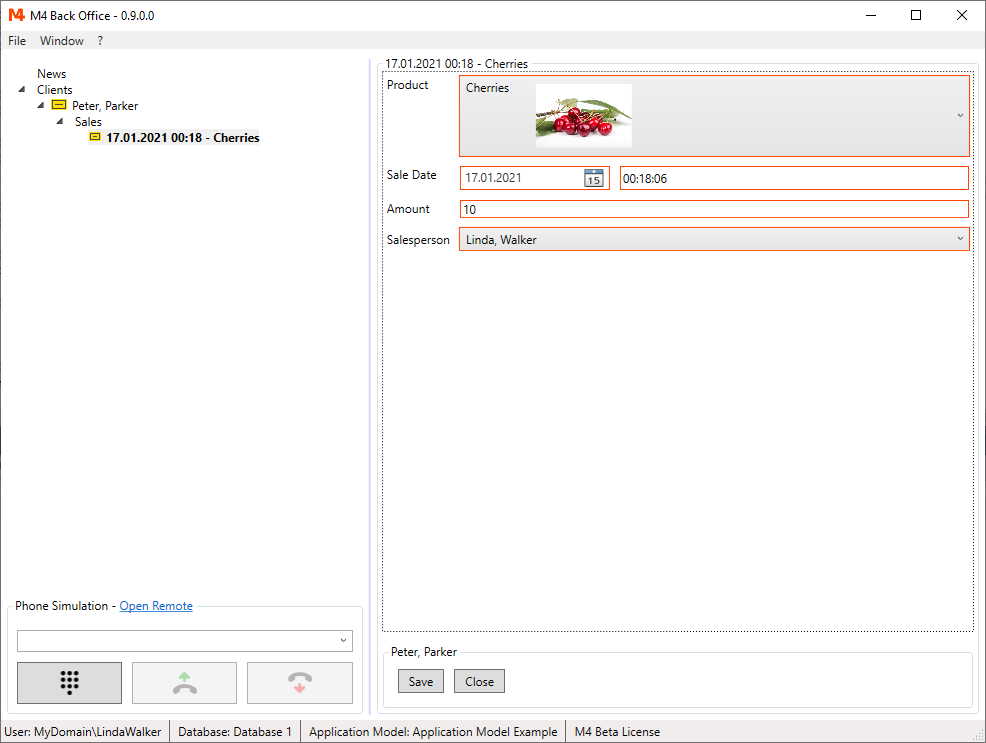
Right click on the client node in the tree and select "Add New Sale".
Fill in some values.
NOTE: While you are logged in as a specified salesperson of a specified branch, you still need to fill in branch for clients and salesperson for sales.
There is no automatic completion, because the scenarios might vary a lot. For example one login could be used by various persons or one person might use various logins.
Nevertheless automatic completion of these field can be accomplished, using a custom validation.
How to do this, is later shown in Field Validation and Node Validation.
Try to add more records and sales. Also explore the application using different logins.
Exporting Data
Available export formats are "CSV" or "XML" files. The default export format is "CSV".
"CSV" files are text files, that can be opened with any text editor, but also with MS Excel or other spreadsheet applications.
The export format can be set on AccessModel scope and on AccessModelNode scope.
If no export format is defined for AccessModelNode, it is inherited from the AccessModel setting.
Read Export Adapter to see, how to implement a custom export adapter.
Login as a user with "Manager" role assigned.
Select for example the "Clients" node, add search parameter, if you like, and click on "Export".