Create the first table called "Clients" in the Application Model.
In this chapter we will only go through the necessary steps to create a new table.
All optional settings are ignored at the moment. We will come back later to these settings, when we discuss further topics.
Add New Application Model
Select "Window/Edit Application Model". You see an empty list of Application Models:
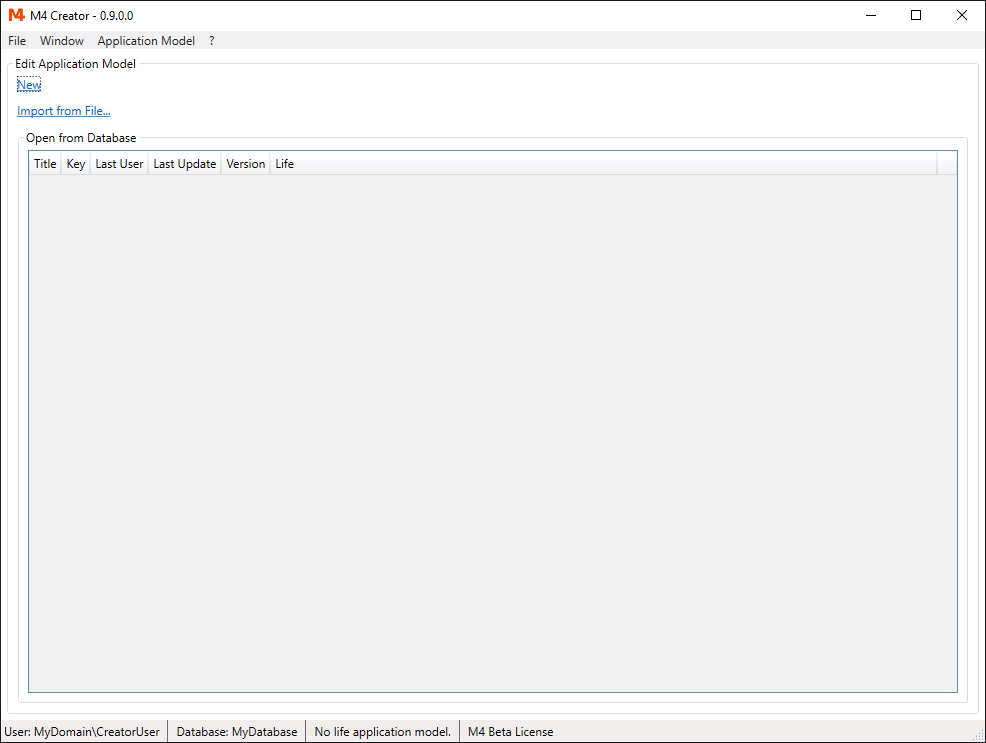
Select "New" to create an new Application Model called "Model 1".
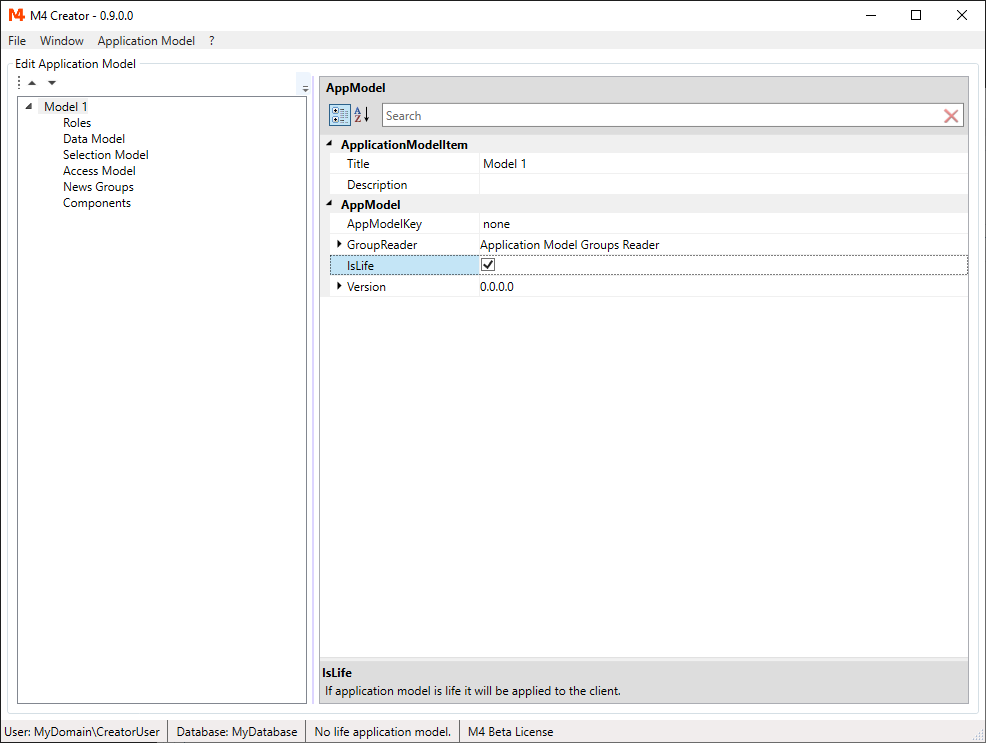
On the left is a tree, that lets you browse through the Application Model objects.
On the right side you see the properties for the selected object.
If you select a property, a small description is shown at the bottom of the properties list.
Most properties can be edited in the properties list. A few settings are inherited from parent nodes. These properties are read only.
Later on, we will see examples of inherited properties.
Select "Model 1". You can give this Application Model a different name if you wish.
Please check the option IsLife to indicate, that this model is to be used by M4 Back Office.
Add Table And Fields To Data Model
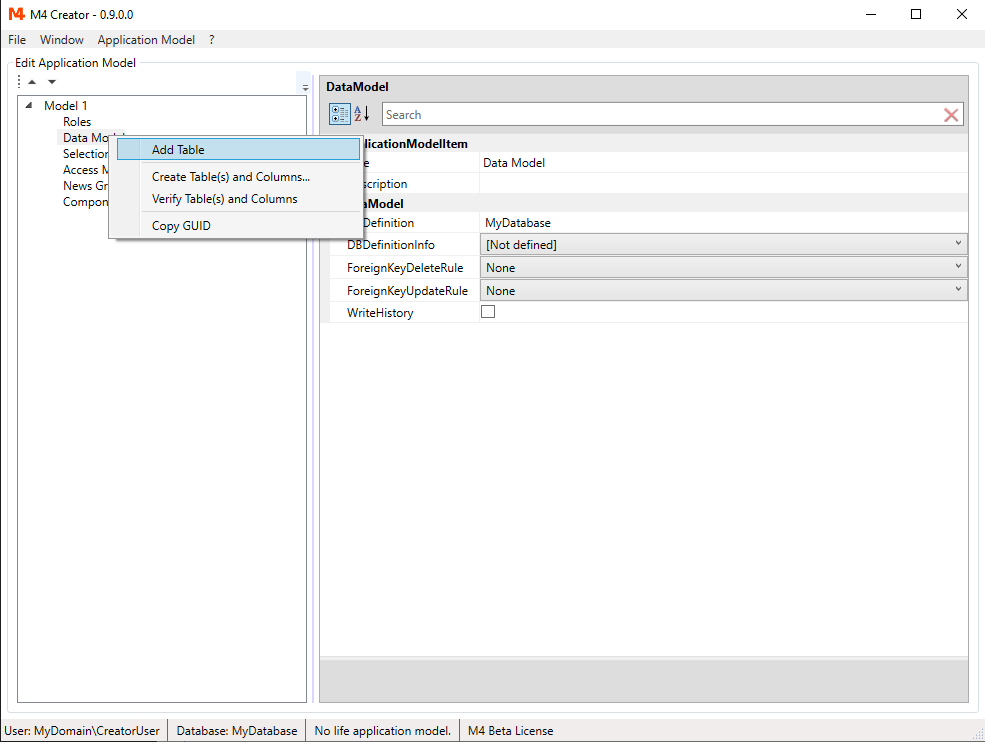
Right click on "Data Model" and choose "Add Table".
A table called "Table1" is created.
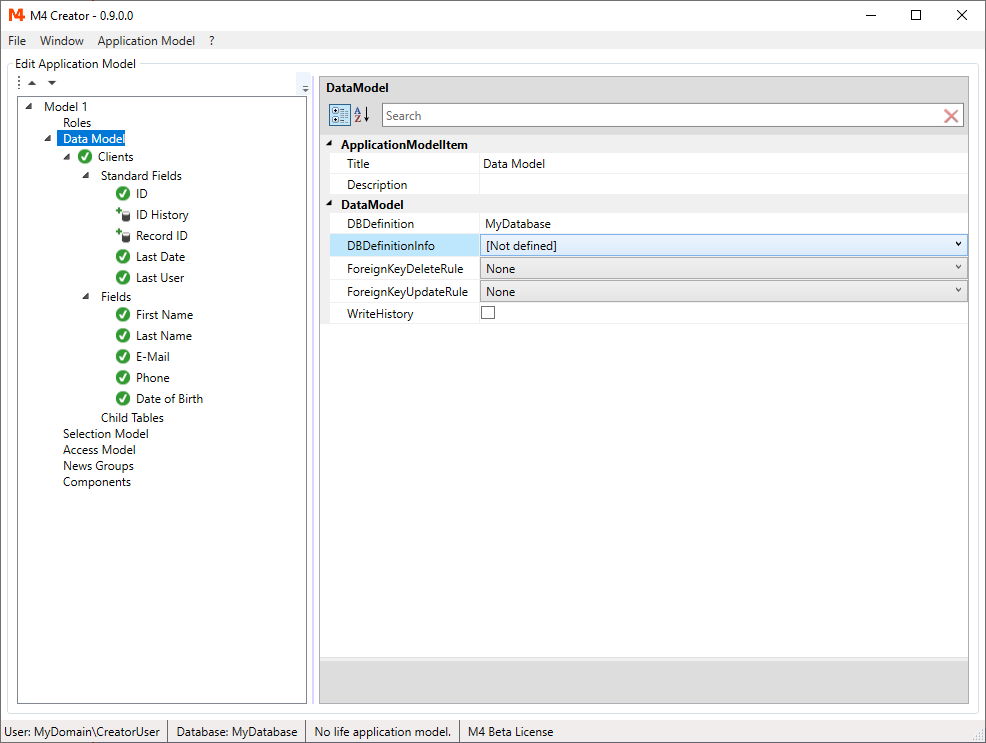
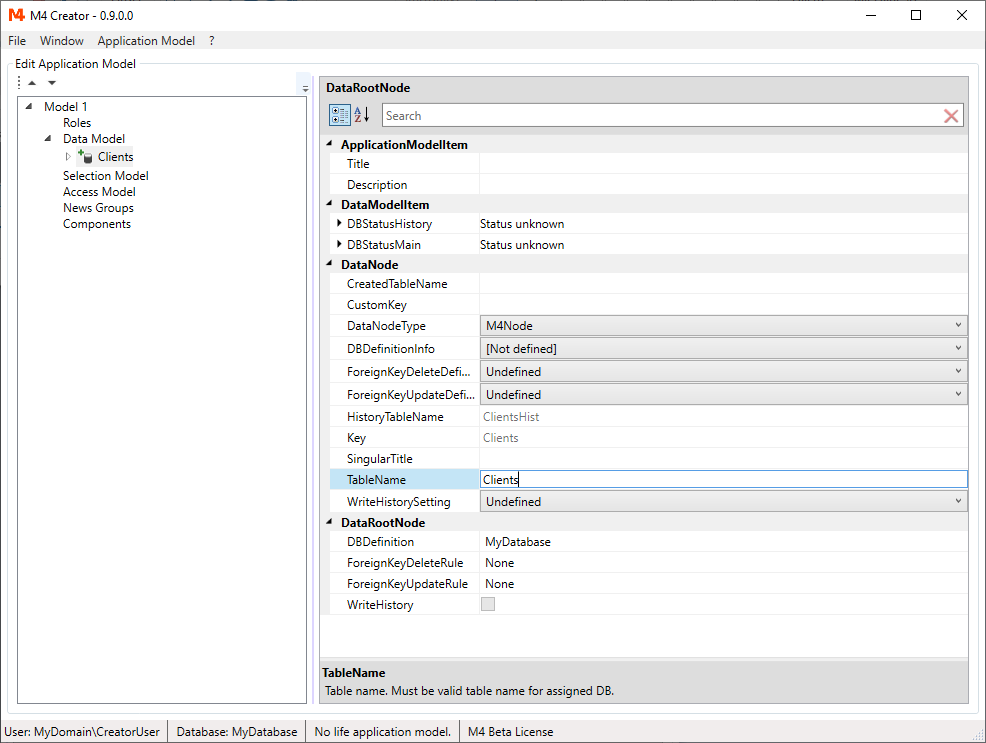
Change the property TableName to "Clients".
Of course you can also choose any table name you wish.
Just make sure, that the name meets the requirements of your database.
Change the property "Title" also to "Clients".
The title does not have to meet database naming conventions.
It is just free text, used by the application for displaying column titles, messages, etc.
It's optional. If you don't provide a title, the TableName is used instead.
You can also specify a SingularTitle. Set it to "Client".
The SingularTitle is used for messages that refer to just one record (e.g. "One Client found.").
Open the table node and right click Fields to add a new data field.
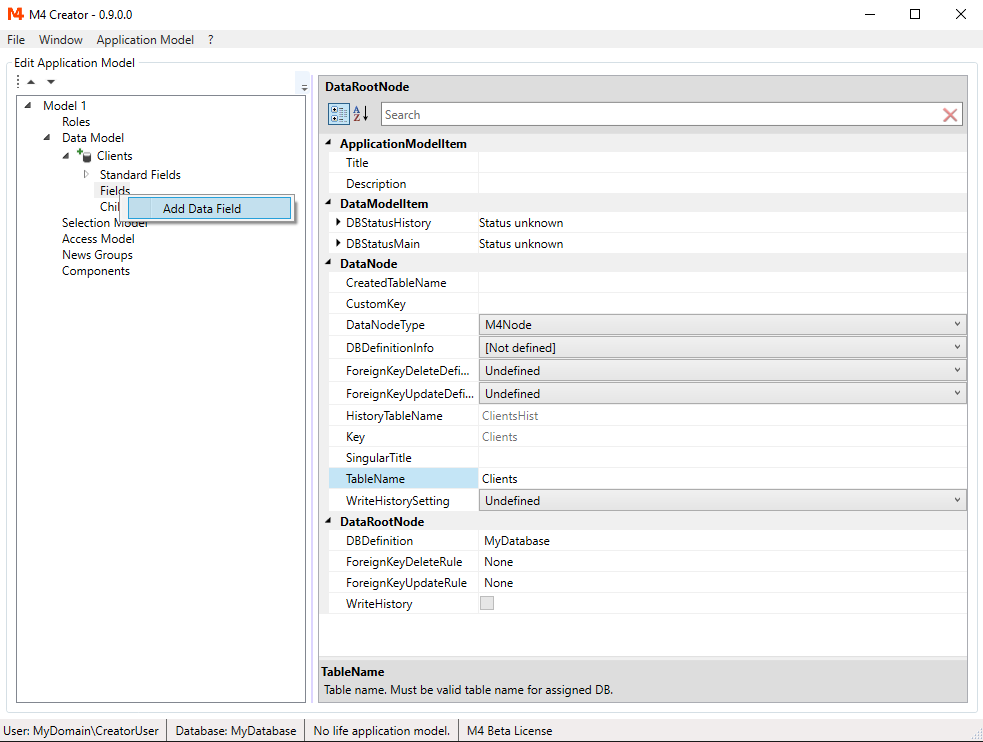
Open the fields node. A new field called "Column1" is created.
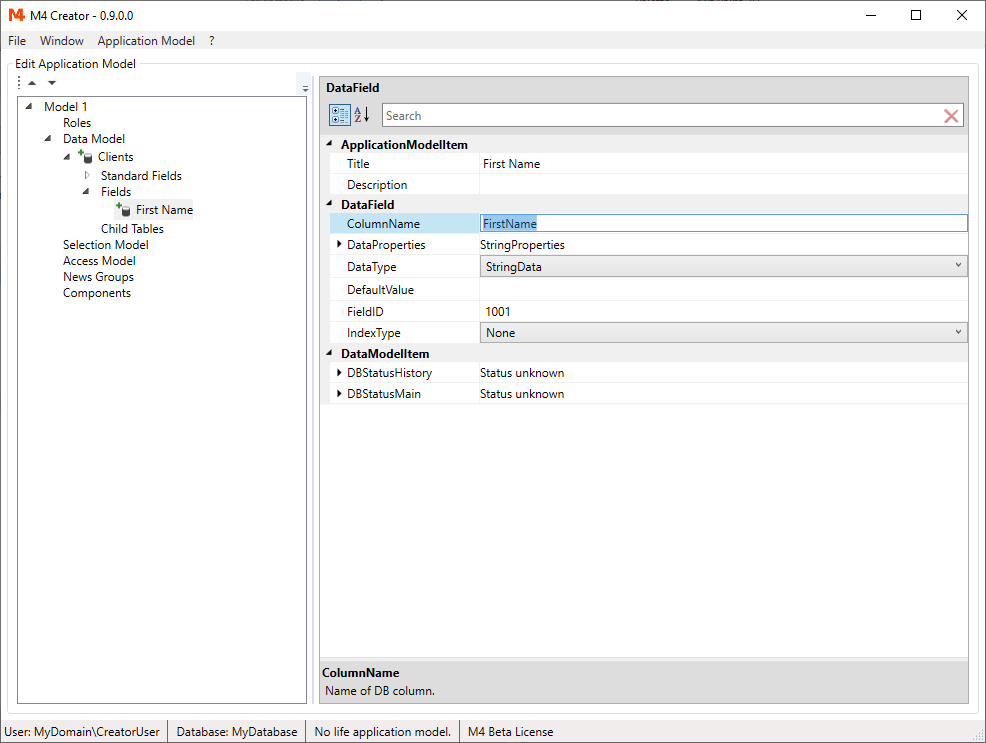
Select this field and set the ColumnName to "FirstName" and the "Title" to "First Name".
NOTE: Default data type for text fields is a string of 255 characters length. We can leave this for the moment.
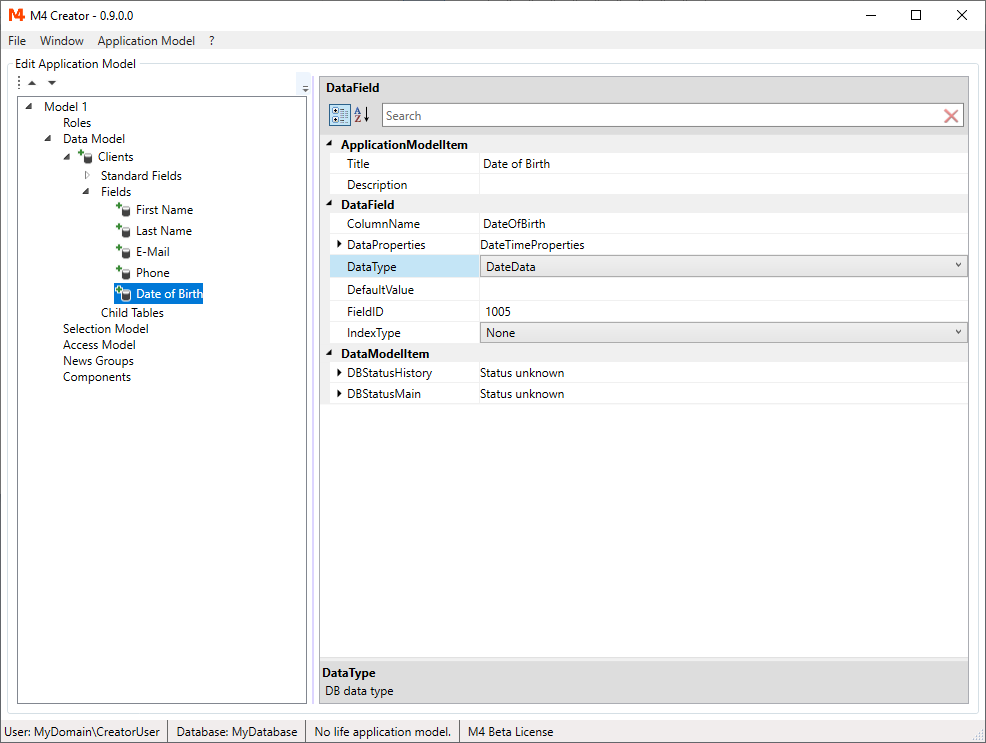
Create further columns with the column names "LastName", "EMail", "Phone" and "DateOfBirth".
Choose titles for these fields. The titles are displayed in the tree.
Select DateData as DataType for the last column "DateOfBirth".
Right click on "Data Model" and choose "Create Table(s) and Columns". The dialog, we know from creating the M4 Data Objects, pops up. Select "OK" to create the "Clients" table and columns.
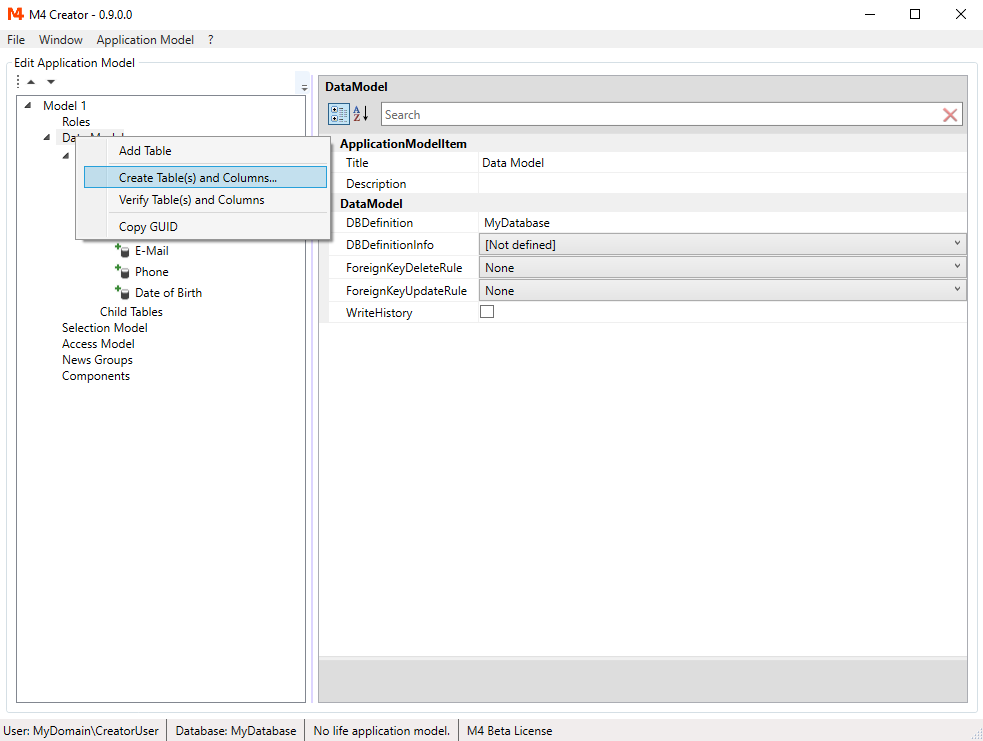
Table and fields have been created on your database.